Having experimented with heat mounting with plastic food wrap and failed, I resolved to staying with the traditional wet mount. The caveat being if I wanted the float effect, then I would go for my proprietary
Suliao Xuan Ban method.
I have the "no roof" version of the Korean Maidens that needs mounting.
I had described my
Xuliao Xuan Ban method in detail in past posts, so in the interest of allowing equal time, I would describe the process of wet mounting in this blog.
There are some basic tools needed for the wet mounting process, which is in itself quite esoteric, so bear with me.
We need
1. a clean and smooth surface sufficiently large enough for the painted work
2. a hard, dry surface for the mounted work to dry
3. 3 brushes: one for applying starch, one for initial pressing and a more robust one for final pressing
4. starch solution
5. stack of newspaper
6. spray bottle of water
7. clean rags
8. an underlayment paper, typically another piece of
Xaun
9. steady hands and patience
The starch solution can be prepared by mixing regular household all purpose starch in an aqueous solution of alum. Sometimes a sprinkle of camphor powder is mixed in. I still don't have a clear understanding of why the alum is needed. I was told that it helps to ensure color-fasting of the painted work. The camphor helps to ward off silverfish. Use the camphor sparingly, as the fumes can be overpowering. The starch and alum solution should be mixed thoroughly and all lumpiness are eliminated. We don't want the initial suspension to be too diluted, as we need to add boiling water to this mixture to obtain the starch.
It is a common mistake to thicken this suspension by boiling over a stove, as in gravy making. This will result in too thick a product which is not suitable for mounting purpose. The trick is to boil a kettle of water, and drizzle that into the starch suspension with constant stirring. The end stage is revealed by a change of the appearance of the suspension. It will take on a glistening, translucent look, with a consistency of skim milk. If your finished product looks pasty, add more boiling water. This thin starch can be stored in a refrigerator for quite a few months without losing any viability. The stored suspension will separate. Fret not, it works just fine by stirring and reconstituting.
I use a porcelain trough for my starch basin, the wide brush is for applying starch.
The red taped brush is for initial pressing, the bubble pack wrapped brush is for final hard pressing.
I used a large piece of Plexiglas (4 ft x 5 ft) as my work surface. It was thoroughly cleaned with water and alcohol before use.
My Koren Maiden painting laid face-down on the Plexiglas ( notice the maidens are on the left now since we are looking at the backside). Now the entire painting was sprayed with clean water. This was done to relax the fibers of the
Xuan.
This is when patience is needed. Typically huge bubbles would form and the painting would not be sitting flat on the Plexiglas. Rather it would appear like a fresh piece of
naan bread with the bubbles.
Our natural tendency would be to lift the wet painting and reposition it to assume a flat appearance.
Don't do that, unless of course you want to shred your painting. The water added weight to the painting; along with the suction that was formed from the two wet surfaces sticking to each other created an ideal formula to form tears.
Wait this out. As the painting slowly dried it regained its integrity while being relaxed at the same time. Now we could tenderly lift and manipulate the moist painting to lay flatter on the Plexiglas. It didn't need to be perfect, as the starch application would even things out.
The broad brush was primed with the starch solution and brushed onto the back of the painting. Starting at the center of the painting and using firm but appropriate force spread the starch towards the edges and the corners. Since the brush is made of firm bristles and the starch solution is wet and slimy, the brush actually glided on the backside of the painting with ease, all the while smoothing out and leveling any creases. Stubborn creases could be eliminated by repeated wetting of more starch and passing over with the brush.
The repeated starch application and passing over the paper caused abrasion to the backside of the
Xuan. This was evidenced by the appearance of clumps of paper fibers. No worries, these would blend nicely with the starch solution and would not be noticeable in the finished product.
In order to thoroughly apply starch to the backside of the painting, we were over brushing. Before the next step in the wet mounting process could be done, we must rid any errant starch with a clean wet rag around the edges of the painting. There shouldn't be any starch other than on the back of the painting.
Now we need to apply the underlayment paper. The underlayment is typically another piece of
Xuan which is similar to the one used for painting. This piece need to have a border of about 3-4 inches around the painting to be mounted. The underlayment is folded and creased along the short and long edges of the painting. This is for the purpose of positioning the underlayment onto the painting. Since the underlayment is larger than the painting itself, when applied over the back of the painting, we would be covering it in the blind. Thus we needed some way to know exactly where the painting is.
Thus the folds represent the edges of the painting. It would be relatively simple to line up the folded edges of the underlayment with the edges of the painting, which is on the Plexiglas, with starch applied to the backside.
Once the edges were lined up, we unfurl the underlayment onto the starched painting, with the help of the smaller red tape brush. The brush is made of palm fiber bristles and is therefore stiff. Using rapid up and down strokes the underlayment is brushed onto the starched painting.
The underlayment would begin to take on the starch from the backside of the painting. It would look moist and perhaps showing some minor raised ridges from the uneven wetting of the underlayment by the starch.
This is the time to pile on newspaper onto the underlayment. I would use 3 to 4 layers of the newspaper. The newspaper served to purpose of soaking up excess moisture, but mainly to protect the underlayment and the painting from the harsh pressing with the palm fiber brush.
I wrapped my brush with bubble wrap to help protect my fingers and my palm. During the pressing process I would start from the center and press firmly outwards. The purpose was to press the underlayment firmly onto the starched painting, forcing out any air bubbles and flattening any raised ridges. The rough fibers could cause blisters to form on my palm and fingers if I didn't shield them properly.
The stiff palm fibers actually flattened out from the exertion of force
This is what a properly pressed and flattened underlayment looked like
So we now had a sandwich of underlayment and starch, with the painting on the bottom, facing down. Hence it was critical that we wiped off any excess starch because we didn't want this sandwich to stick to the Plexiglas work surface.
Now we applied a judicious amount of starch along the edge of the underlayment, paying utmost attention to avoid the painting itself, which we could discern.
This is a graphic representation of what we had so far
Now lift this completed assembly and move it onto a dry, hard surface. I used a half-door for my purpose. So now we would be throwing the assembly right-side-up onto the door, with the starch on the bottom, along the edge of the underlayment.
We fixed the top edge onto the door first, tamping the edge down with the red-taped brush.
move the brush down along the surface of the painting and along the edges
The starch that was applied to the edges of the underlayment held the mounted work in place. So now we had the painting with the right side out, starched onto a piece of underlayment, which again was starched along the edges and affixed to the door.
This assembly was left to dry. The slower the drying process, the better would be the result. The drying shrank the paper, and along with the starch rendered the painting flat and taut.
Remember your starched shirts? Nice.
So this wet mounting process gave stiffness and provided white balance to the painting.
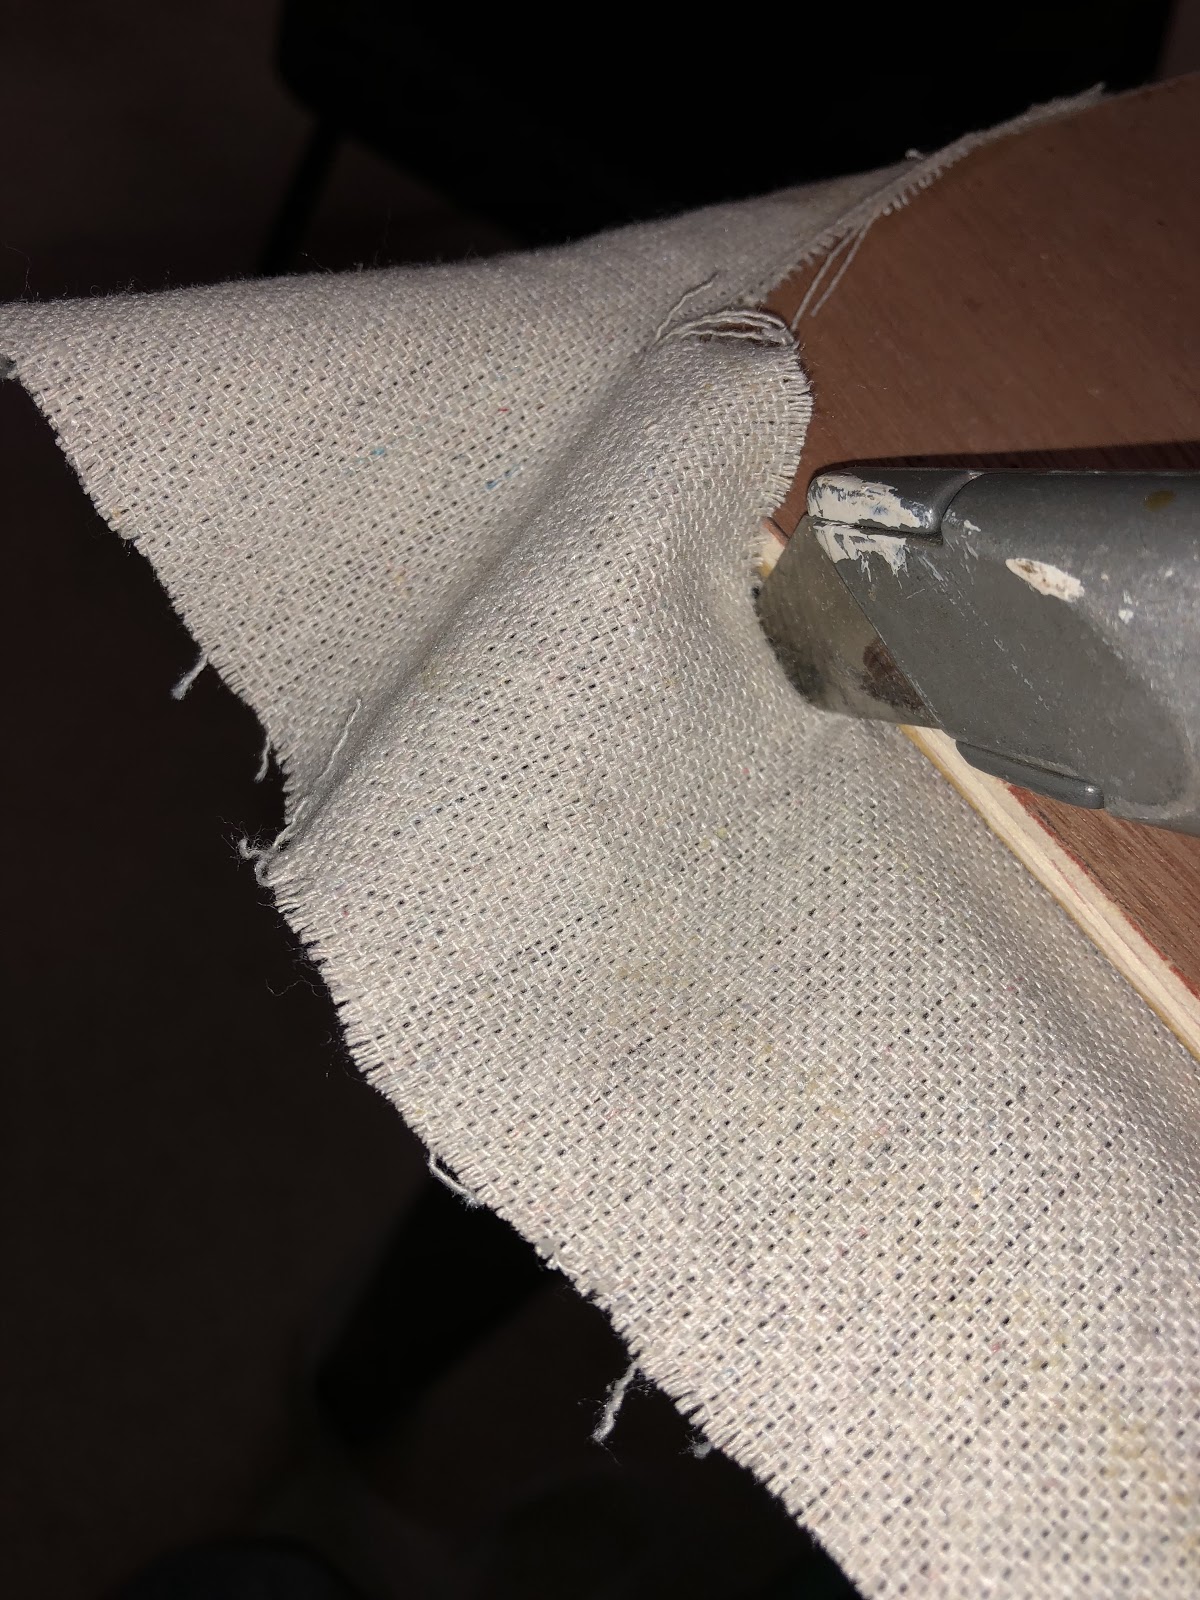
After complete drying of the assembly, the painting was harvested by lifting the underlayment off the door, or by cutting along the edges of the underlayment. The oversized underlayment provides a nice place to apply mat tapes if one chooses to display the work with a matted border in a picture frame.
In my hast, or rather, lack of care, I eyeballed my folding positions on the underlayment. The final result being the painting was not in the middle. It tilted to the right.
Fortunately I had sufficient border left for the application of starch along tall he edge of the underlayment. I lucked out.
After careful examination there was only one defect on my mounted painting. I missed one of the creases and didn't brush it out so it was folding upon itself. Fortunately the omission was minor and most people would not have noticed.
I have the examples of the wet mount and my dry mounted
Suliao Xuan Ban for comparison.
The no-roof version is the wet mount and the roofed version is dry mount.