Showing posts with label Sulio Xuan Ban. Show all posts

Friday, April 1, 2022

Exhibition

I was offered an opportunity to show my works at a gallery recently.  This was going to be a solo exhibition with 28 of my works.  

In the past when I was designing the exhibitions I felt more at ease because the venues were more informal and the personnel involved were all personal friends of mine and they knew my works.  I felt that there was a lot of unspoken communications and still we were on the same page.  I was able to get my ideas across with simple diagrams and everybody understood their roles instinctively.

Inkflow is the app on my iPad that have served me well over the years; for all the exhibitions that I've been involved in.  I could snap a picture of the venue and make free hand written notes on the picture.


I could upload a picture of the venue and plan my layout off the picture.  For that to work, I needed to be familiar with the size and dimension of the proposed pieces, so that I could draw them in place and get an idea of how it could pan out.  


Or I could draw the size of my walls free hand and upload the proposed pieces and shrink them to size and see how they would look on the wall.  Again, having an intimate knowledge of the pieces is vital, since I had to shrink the pictures down free hand, not to exact scale, thus not achieving the exact relative dimensions to the display wall.  I needed to know how many of such pieces could potentially fit on the walls; either by measurement of the pieces, or by eyeballing the measurements.  Nonetheless this was a fast and sure way of checking out an idea.


For this exhibition I had to be a little more structured.  I was working with people I've never met before and they had absolutely no idea of what my pieces were like, other than the thumbnails I provided them with.  I wasn't sure that my haphazard road map would not make too much sense to who I considered strangers basically.  I needed to draw up a schematic.  This reminded me of the days when I was a working pharmacist and I had to set up merchandise shelves on the sales floor.  The exact location of each medication and appliance with their dimensions were all spelled out in no uncertain terms.  Fortunately the schematic was done by the cooperate office and my job simply was to set them up accordingly. 

Thus the schematic I created was to scale.  I used graphing paper for my floor map and cut-out pieces of my paintings.  This was the master plan that everybody involved with the installation would be following.


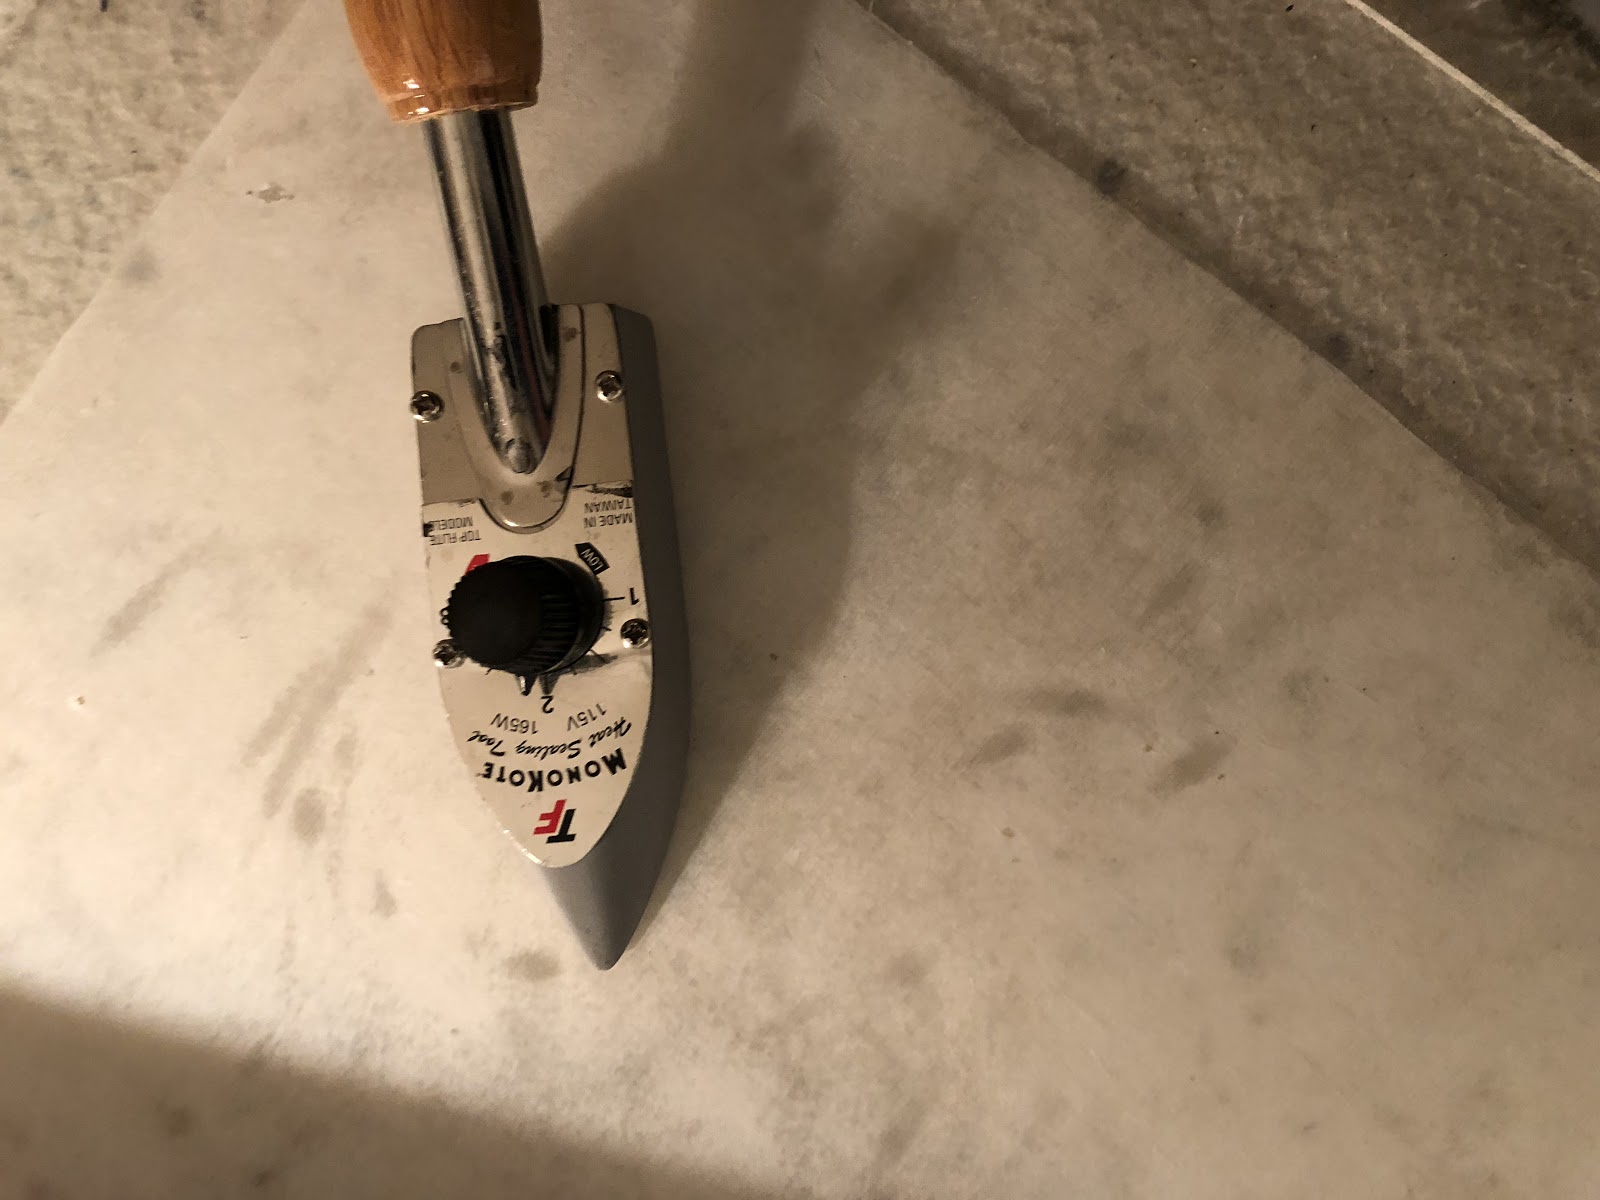
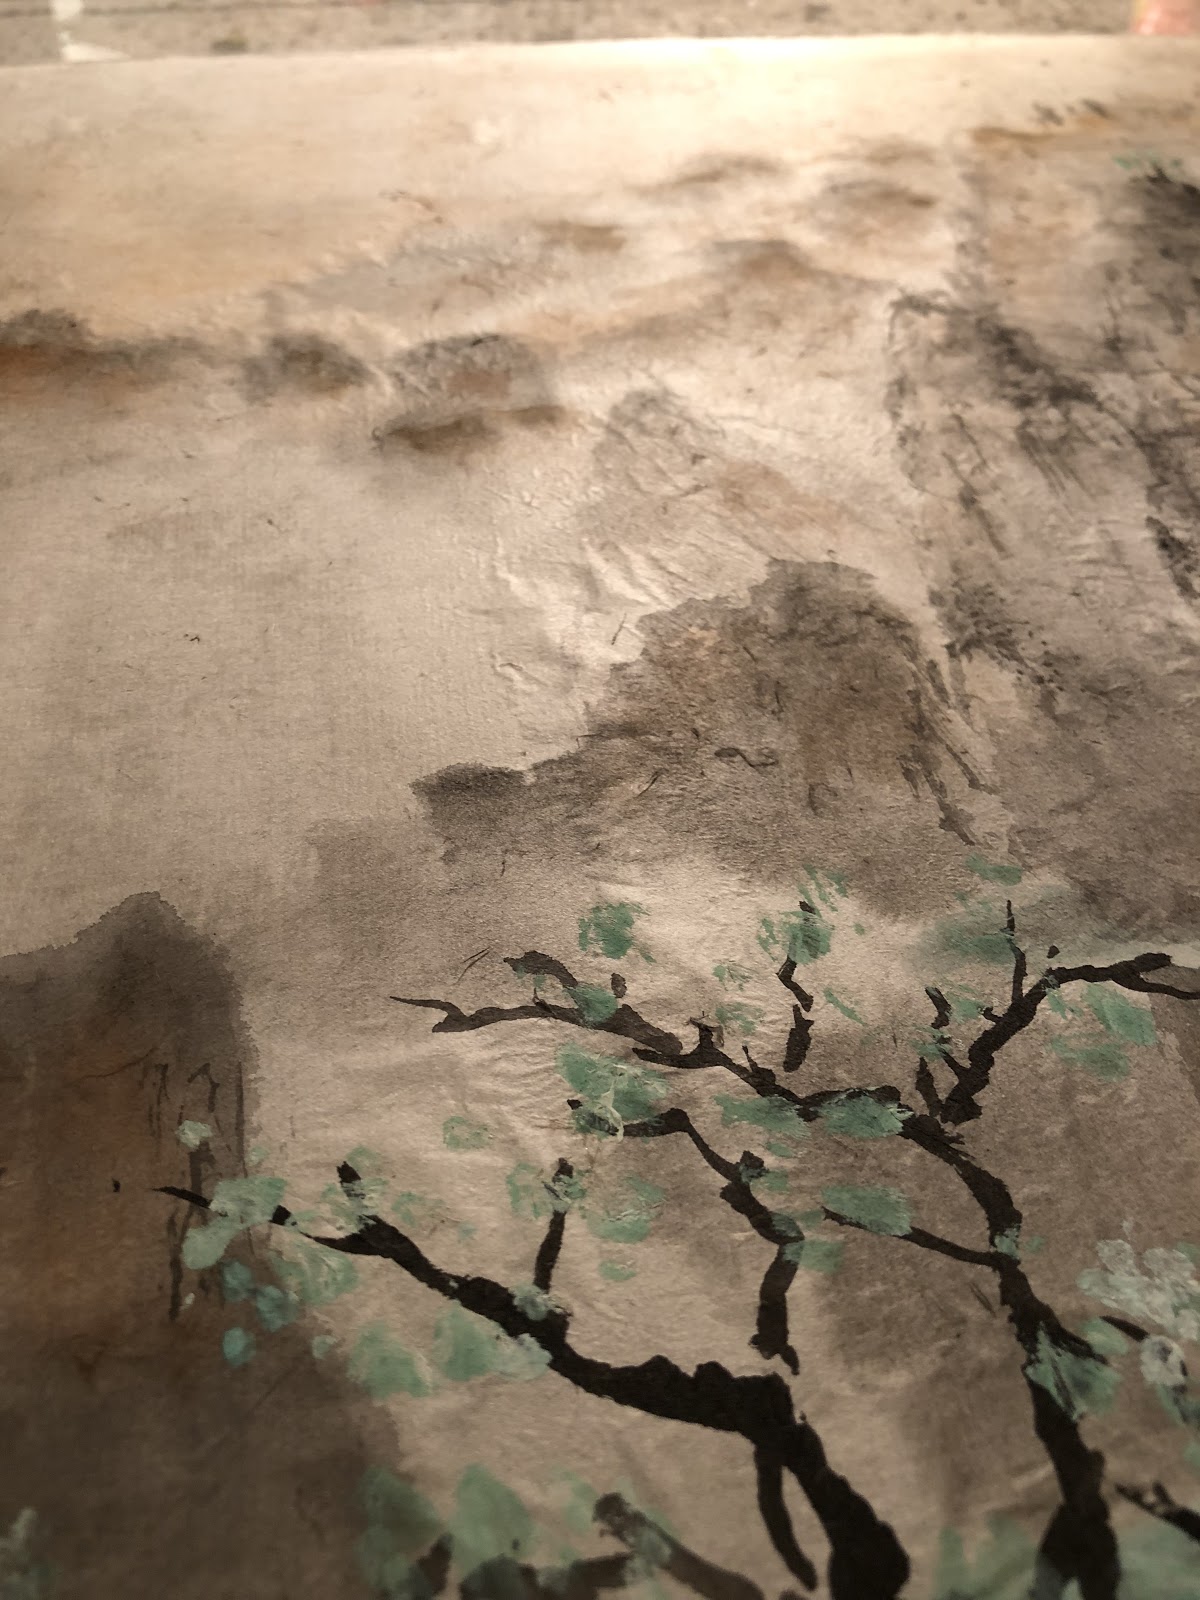
I had included a few pieces of works that are not framed but in the un-mounted state.  I also included my wet-mounting board with a mounted painting still on it.  I wanted to introduce the audience to the kinds of Xuan paper I used and how a painting comes from being painted to ready for framing.  For these un-framed pieces I was introduced to push pins with magnets.  The magnets hold the paper on the push pins and keep the paintings on the wall without sticking holes in them.  Sweet!  I found my new toy!!

I placed all my zodiac pieces framed in red on the wall across from the entry, such that people can see them through the grated doors even when the gallery is not open.  Also I think the vibrant color helps to draw in a casual audience.


I had all my monochromatic float pieces, (my Sulio Xuan Ban pieces) on one wall, as a suite.


My large pieces on one wall.


The installation went off like clockwork and was finished in no time.  The exhibition was well received, obviously I was elated.


I am very thankful!


Wednesday, August 1, 2018

Presenting: Emote

Now that the painting is finished, it's time to present it properly.  I'm going to facilitate that by using my homegrown Sulio Xuan Ban method.  This is the process where I affix my Xuan onto a piece of clear plastic or acrylic board, such that the finished product presents itself like a float when displayed on a wall.  This method of mounting also lends itself to special lighting effects, which I will delve into at the end of this blog.

Traditional Chinese brush paintings on Xuan is mounted on another backing piece of Xuan, to give it rigidity and proper white balance.  For my process of mounting on clear acrylic board this backing piece is mounted on the back of the board.  I basically trim out a piece of blank Xuan using the same dimensions as the painting, and mark the position on the protective sheathing of the acrylic board.
The fixative is an iron-on silicone sheet made for dry mounting.


the silicone sheet is trimmed to the same exact dimension as the backing Xuan


the backing on the silicone sheet is peeled off after initial ironing


Breaking up trapped air bubbles using a pin or thumb tack.  This is a critical step because these air pockets prevent proper adhesion of the silicone to the acrylic board.  If this is not done properly, then whatever we try to fix on top of the silicone will show air pockets too.


The blank sheet of Xuan is ironed on after mitigating all the bubbles


Once the backing Xuan is in place, I flipped the acrylic board over and repeat the same process with the actual painting on the top side, using the position of the backing as my guide for proper placement of the painting


The ironing process with the painting has to be slow and methodical, taking care to spread and iron out the creases.


When additional air pockets are encountered, break them with a pin and pass the iron over the area again.


I decided to be a little less meticulous with ironing the petals.  I found the little imperfections described their textures rather well.  I thus left minute creases and folds at strategic locations on the leaves and flower petals.


The finished sandwich of painting-acrylic board-backing is ready to be inserted into the custom frame that I built for this painting


The finished product as it hangs on the wall


I am quite partial to the effect of the clear border around the painting itself.  It is much less confining than a traditional frame, and yet looks finished and expensive.  It is a lot of additional work but at the end of the day I'm quite happy with it.

I found a painting of a rose I did some 15 years ago and it is interesting to look at it now and reminisce a little.  I think I have matured.


I mentioned at the beginning that my Sulio Xuan Ban set up lends itself quite nicely to special lighting effects.  Here is an example of placing a light source behind the painting.  I am of course exploiting the translucent property of the Xuan.   This could be placed on an occasional table with a mood light behind it.  I can visualize the drama it could create in a study or a foyer.


Saturday, March 31, 2018

Why Waste An Etude

I am aware that I'm not preparing a musical piece,  I'm just trying to use the word Etude in a generic sense, if there is one.  So forgive me, si vous plait, musicians.

Since I was not unhappy with the landscape piece I prepared for my painting demo, I decided to mount it using my Sulio Xuan Ban technique ( mounting Xuan on plastic boards ).

The painting is first moistened to relax the fibers.  Wet Xuan is like wet kleenex, thus we have to allow it to dry slowly.  Handling a dripping wet Xuan is committing suicide.


In the mean time, iron on the silicone film onto the plastic board


Now trim a piece of blank Xuan and iron onto the film of silicone that was just ironed onto the plastic.  I used a regular iron for the initial tack, then a smaller model iron to tackle the stubborn creases.


This view shows the affixed blank Xuan on the backside of the plastic.  This is going to be used as the white balance sheet for the translucent Xuan painting. 


Using this blank on the bottom as a positioning guide, carefully place the dried, wrinkle free painting on the topside of the plastic board.  This is then ironed into place. ( another layer of silicone should have be tacked on the top side of the plastic first)


Now gently run the hand over the ironed on painting to feel for obvious air pockets and loose spots


Shine a light at a low angle onto the painting to better reveal air pockets


Using a pin to poke holes into these pockets


After re-heating with the iron over these pockets, press a rubber ball over the area with firm pressure avoiding  inadvertent damage to the delicate Xuan.


Measure 3 times and cut once, time to build my custom frame out of poplar


Rough fitting for insurance


Staining the custom frame with the same ink I paint with


The stained frame is then smoothed out with steel wool, re-stained, and finished with a clear wood finish.

Looks nice hanging on my wall.  Almost professional!

Wednesday, December 28, 2016

Trials and tribulations

I finally had the banyan roots painting darkened to the point that I considered was dramatic for the piece.
I also emphasized the shadows on the left and the under side of the roots.  The effect was as if one was shining a spotlight on them.  The whole set up reminded  me of those  portrait head shots from the studios. To maximize the impact, I would need to hang the painting on the right side of the display area, surreptitiously forcing the viewers to look at it from the left, hopefully amplifying the perspective.


I chose to employ the traditional cinnabar color seal, arguing that this dark piece could use a hint of color, to jazz it up a bit, in a subdued way.  I chose the negative seal, thus the script would be the color of the painting.  Since the painting was so dark, the script was not immediately legible, inviting the viewers to investigate further to decipher what was being carved.  I think this adds to the overall mysterious feel of the painting.

I wanted to continue my experimentation on my Sulio Xuan Ban format, but I wanted to try the wet mount using starch.  I began with the back side first, since any mishaps were not going to be catastrophic.  I used a blank piece of double Xuan, brushed on a moderately thick layer of starch on the plastic and laid the Xuan on it.


So far so good.  I grew a little bolder.

When it came to the top side, the painting side, I used the backing that was already glued on as a placement guide. The semi-sized Xuan was a lot flimsier than the double Xuan and it was difficult to post it correctly. The leading margin softened and wilted immediately when placed on the wet starchy plastic surface and any subsequent yanking or adjusting only made matters worse.  I was also running the risk of tearing the Xuan like a piece of wet paper towel.


My heart was in  my throat; I was about to encounter my Waterloo.

My dilemma was that if I had attempted to lift the whole piece, the paper might not support the wet weight and would tear for sure.  If I left it there, then there were simply too many folds.

I had to find a way to salvage this, and fast.  I remembered watching on YouTube how auto body shop technicians would apply protective film to the car body.  I remembered them using shampoo to float the piece so the film can be manipulated easier while on the car.  Obviously I would not use shampoo, but I grabbed my spray bottle and thoroughly wet the entire painting.

That seemed to work.  I could now press against the plastic and apply firm but steady pressure on the Xuan to make it slide on the plastic, gradually eliminating the unwanted folds.  I started from one edge and patiently but gingerly moved to the other areas, all the while keeping wetting down the paper.


After what seemed like an eternity, most of the major folds were gone, and the paper was squared up.
Time to put layers of newspaper on top of the wet mess to soak up the excess water, and to protect the painting from the harsh bristles of the palm brush that was used to tamp down the paper onto the plastic.


This insert showed the effect of tamping.  The left side, which was tamped, was drier and much smoother, devoid of bubbles.


The entire piece was treated this way, and allowed to dry.


A sigh of relief !  I've averted a cataclysmic blunder.

To my disappointment, I found out that the Xuan did not stick to the plastic as I had anticipated. I could peel off the entire piece as if it was a static cling.
It worked on the back !  My theory was that the profuse wetting during my rescue process severely diluted the starch, to the point that adhesion was greatly diminished.  The paper itself was flat and stiff though.  Reminded me of the starched school uniform days!

Should I reapply with the thicker starch now?

I decided against it.  I didn't want to repeat the same mishap.  I couldn't afford to destroy this painting now, not when it was committed to an impending exhibition.  My initial eagerness to wet mount this piece was fueled by the success I had with the back piece that was used as a white board.  So I dry mounted it.

I shall wait for another opportunity to try my wet mounting on plastic.  I'm in no hurry.